
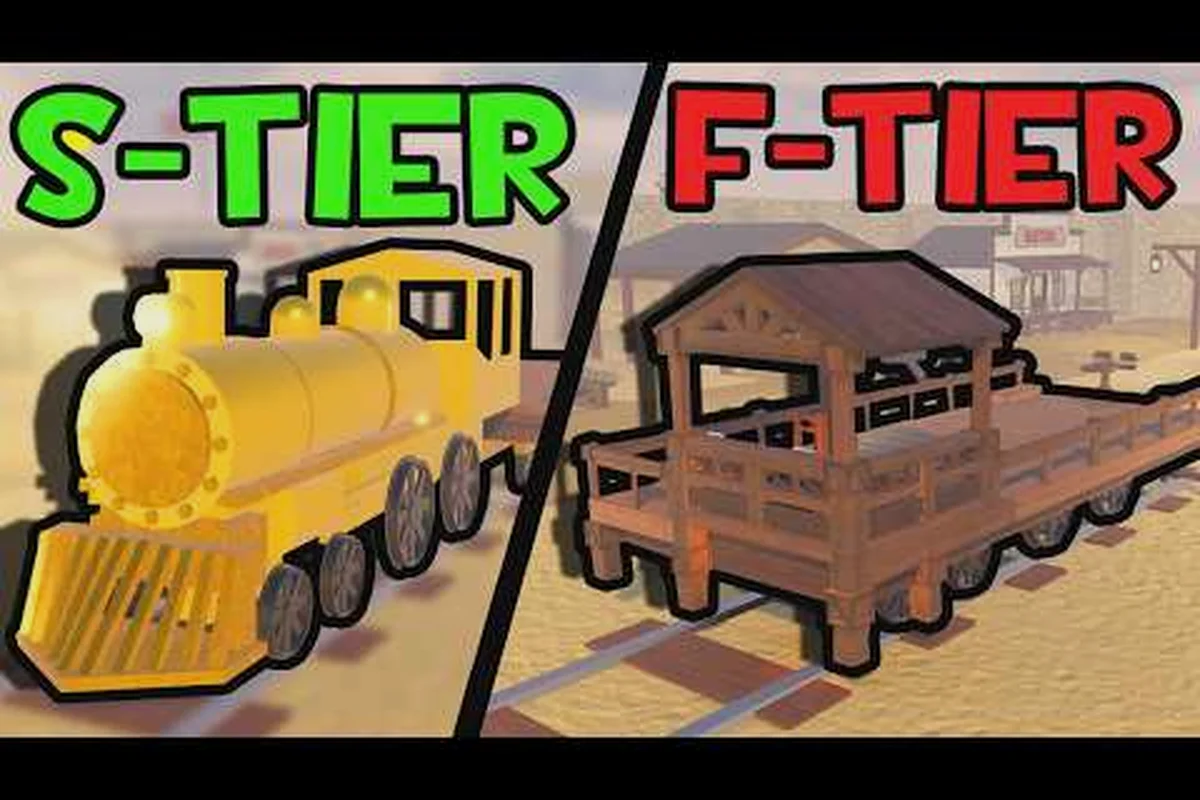
Dead Rails trains determine how fast your crew travels, how much it can carry, and how well it survives outlaw fire. Comparing all 14 locomotives helps you choose a reliable ride before the next expedition, because the strongest train for a group may be the worst choice for a solo run.
Dead Rails Trains: What Makes One Locomotive Better?
A useful Dead Rails train tier list depends on more than raw speed. The best locomotive balances three needs: reaching destinations quickly, carrying useful cargo, and surviving encounters without turning every stop into a repair bill. That makes a train comparison more practical than simply placing every option from fastest to slowest.
The available roster includes the Default Train, Cattle Car, and Armored Train, followed by community-referenced specials such as the Presidential Train, Ghost Train, Dracula Train, Gold Rush Train, and Old Faithful. Availability can change with updates and events, so confirm the current catalog before planning a long run. A visual overview appears in this Dead Rails trains gameplay video.
| Evaluation point | What it controls | Why it matters |
|---|---|---|
| Speed | Time spent crossing a route | More time exposed to enemies and fuel loss |
| Cargo space | Items carried between stops | Supports selling, upgrades, and event preparation |
| Armor | Protection from gunfire | Useful in forts, boss fights, and outlaw-heavy zones |
| Price or unlock cost | Starting economy | Influences how much cargo can be sold early |
| Event status | Temporary availability | Can limit long-term planning |
| Reliability | Consistency across routes | Often matters more than a small speed advantage |
The Default Train is the safest starting reference because it is the free starter, includes a driver's cabin, and comes with an empty carriage. The Cattle Car expands practical cargo space, while the Armored Train absorbs more gunfire but introduces a noticeable speed cost. These differences already illustrate why there is no universal winner.
Dead Rails Train Tier List: 14 Locomotives Ranked
The following Dead Rails trains ranked list groups the 14 locomotives by overall usefulness. It is a practical guide rather than a claim that every train has a fixed public stat sheet. Where exact prices and unlock values vary, community reports and the current build should take priority.
S Tier: Strong Specialists
At the top are trains that clearly excel in at least one major category without becoming frustrating to operate. An S-tier designation therefore depends on fit as much as raw strength: a locomotive with exceptional survivability or cargo value can still lose value if its route is dominated by travel time, limited stops, or a needed upgrade is unavailable. The Armored Train, for example, is strongest when a fort defense or boss encounter justifies its lower speed, while the Gold Rush Train pays off best on a longer run that allows its valuable cargo to be sold afterward. Matching each locomotive’s specialty to the route’s demands is what turns a strong stat into an S-tier result.
| Tier | Locomotive | Main strength | Best use | Main drawback |
|---|---|---|---|---|
| S | Armored Train | Survivability | Forts and boss encounters | Noticeably lower speed |
| S | Gold Rush Train | Cargo value | Selling valuable cargo | Event-related access |
| S | Ghost Train | Event-oriented performance | Event routes and themed expeditions | Availability may be limited |
The Armored Train is the clearest defensive choice. Armor matters when sustained fire is expected, such as during a fort defense or boss fight, but the speed penalty can leave the crew exposed for longer elsewhere. Its value comes from choosing the right fight, not driving it through every stretch.
The Gold Rush Train has a different appeal: community field notes associate it with high-value bond farming. It is especially attractive when its cargo advantage remains available during the run. The Ghost Train also ranks highly in community opinion, though its event styling and availability require a current build check before commitment.
A Tier: Excellent All-Rounders
A-tier trains are easier to recommend because they perform well across mixed routes, especially when a run includes general expeditions, long-distance travel, and occasional cargo objectives. They may lack the dramatic specialty of an S-tier option, but they usually make fewer strategic demands: Old Faithful is the safest all-rounder, while Cattle Car fits players prioritizing carriage space and loot income. The best pick therefore depends less on raw rank and more on whether the route needs balanced performance, extra cargo capacity, or event-specific usefulness.
| Tier | Locomotive | Main strength | Best use | Main drawback |
|---|---|---|---|---|
| A | Old Faithful | Consistent mid-tier performance | General expeditions | Lacks a standout specialty |
| A | Presidential Train | Premium cabin layout | Comfortable long runs | Premium status may depend on access |
| A | Cattle Car | Additional carriage space | Carrying and selling loot | Less protection than armored options |
| A | Dracula Train | Seasonal event capability | Halloween event runs | Limited seasonal availability |
Old Faithful is a dependable recommendation for players who want a balanced locomotive without constantly changing strategy. Presidential Train provides a more premium cabin layout, while Cattle Car remains valuable when cargo revenue is the main objective. Dracula Train, associated with the Halloween event and the Edison's Revenge update, can be strong in its intended seasonal context.
B Tier: Functional With a Specific Plan
B-tier trains remain playable and can be effective when their strengths match a particular route. Their weakness is not uselessness; it is the need for a clearer plan compared with the top-ranked options. In Dead Rails, a standard train becomes more than a fallback when players use its simpler operation on learning routes, short runs, or low-capital sessions. For example, the Default Train’s free access and one empty carriage can be acceptable for practicing fuel management and route timing, but a protected or upgraded train offers more room to handle enemy pressure. The key is to match the locomotive to the run rather than judge it only by raw tier position.
| Tier | Locomotive | Main strength | Best use | Main drawback |
|---|---|---|---|---|
| B | Default Train | Free access and simple operation | Learning routes and short runs | One empty carriage and limited protection |
| B | Gold-themed standard train | Familiar rail experience | Players building confidence | Benefits depend on available upgrades |
The Default Train belongs in B tier for general ranking because it is accessible but limited. It still gives new players a way to learn fuel management, route timing, and enemy pressure without an expensive purchase. Since it is free, its practical value can exceed that of a nominally stronger train when a run has little capital.
C Tier and Below: Situational Choices
Lower-ranked trains make sense only when their design compensates for a clear weakness through upgrades, positioning, or a narrow route plan. They should not be treated as permanently worthless because event status and personal route knowledge can change their practical value.
| Tier | Locomotive | Main strength | Best use | Main drawback |
|---|---|---|---|---|
| C | Speed-focused standard train | Fast travel | Low-risk short routes | Lower cargo or defense capacity |
| C | Basic cargo-focused train | More carried items | Loot-heavy routes | Less protection during combat |
The exact order can shift after patches because available upgrades, prices, and event rewards may change. For that reason, the dead rails all trains collection is best used as a decision framework. Players should check the current train catalog, then match each locomotive to the route and threat level they can actually handle.
Dead Rails Best Train for Solo and Group Expeditions
A train that shines in a full expedition can be cumbersome when one player must handle fuel, repairs, loading, and combat. The best train for solo travel therefore needs to be easy to understand and forgiving when a mistake costs precious time.
| Priority | Recommended locomotive | Reason |
|---|---|---|
| Beginner solo | Default Train | Free and simple, allowing the player to learn core systems |
| General solo | Old Faithful | Balanced behavior without requiring event knowledge |
| Cargo-focused solo | Cattle Car | Extra carriage space supports profitable stops |
| Combat-ready solo | Armored Train | Added protection compensates for the difficulty of defending alone |
| Expert solo | Ghost Train | High community regard, provided access and route knowledge align |
For the best train for solo play, the Default Train remains the most reliable starting point because cost is not an immediate obstacle. The player can test a route, learn how the stove consumes fuel, and determine whether the extra carriages are worth their weight. That knowledge reduces the risk of buying a stronger train only to discover that its advantages do not match the journey.
Old Faithful is the safer mid-run recommendation, while Cattle Car becomes attractive when a player has learned how to gather and protect loot. Armored Train is most suitable when the route contains predictable forts or difficult bosses. Its speed cost is meaningful, so it works best when those danger zones are frequent enough to justify carrying extra protection.
For groups, the best train is determined by how the crew divides locomotive operation, cargo handling, and combat. A larger train can support event roles more effectively, but added carriages also increase fuel consumption and can slow the locomotive. If the crew needs stronger weapons, compare the available loadout in the Dead Rails weapons guide before committing budget to the locomotive, since a premium train offers little advantage when the group cannot efficiently manage its engine and defend its carriages.
Dead Rails Train Upgrade Priorities That Actually Matter
A train upgrade is not automatically a better train, because Dead Rails rewards matching the locomotive and rolling stock to the route’s actual demands. If you expect repeated derailments, prioritize a train’s handling and stability; if the main threat is a boss encounter, damage output and the number of carts may matter more. A six-car setup can increase total health and reward collection, but its extra weight can worsen traction problems. Spending should therefore follow a clear order—survivability, route performance, then raw damage—rather than a shopping list based only on a train’s headline tier.
Fuel Capacity and Route Planning
The stove can burn coal, wood, paper, and furniture, with coal reported as the most efficient common fuel. Community estimates for reaching 80 kilometers vary because speed and driver efficiency change consumption, so treat any fixed fuel number as a baseline rather than a guarantee.
| Fuel | Relative efficiency | Best use |
|---|---|---|
| Coal | Highest reported efficiency among common fuels | Long-distance routes |
| Wood | Moderate efficiency | Normal mixed journeys |
| Paper | Less efficient | Emergency use when other fuel is scarce |
| Furniture | Emergency fuel with limited appeal | Last resort |
Carry more coal than the estimated minimum because stops, fights, detours, and poor driving can extend the route. For consistent fuel planning, review the Dead Rails inventory and fuel guide. A route that arrives with no reserve is less valuable than one that leaves with a modest buffer.
Armor and Defensive Equipment
Metal sheets cover windows and doors, barbed wire blocks doorways, and turrets add automated fire. These additions improve survival, but armor slows the train, so crews often remove plating for fast sections and re-arm before forts or boss fights. Strip plating only when the route is clear.
| Upgrade | Defensive value | Operational cost | Best timing |
|---|---|---|---|
| Metal window and door sheets | Improves protection | Adds weight and slows travel | Before hostile towns or forts |
| Barbed wire at doorways | Restricts enemy access | May reduce usable movement | When defending a stop |
| Turret | Provides automated fire | Requires ammunition and maintenance | During sustained attacks |
| Light or removed armor | Preserves speed | Lowers protection | During safe or time-sensitive routes |
The smart approach is to alternate configurations. Travel light through safe territory, stop at a defensible location, install protection, and then return to a lighter setup for the next sprint. This is more effective than remaining heavily armored for the entire expedition.
Cargo and Carriage Upgrades
Extra cargo raises a train’s earning potential, but added carriages also increase travel time, fuel use, and the number of targets raiders can hit. Upgrade capacity only when a route repeatedly reaches a consistently full cargo state; for example, replacing a lightly used wagon with a higher-capacity one is useful if the extra space can be filled on most outbound trips without turning the train into a slow, vulnerable target.
| Cargo state | Route behavior | Recommended action |
|---|---|---|
| Mostly empty | Fast but low revenue | Focus on speed or upgrade later |
| Consistently full | Balanced but slower | Retain capacity |
| Overflowing | Heavy and vulnerable | Sell early or expand carefully |
For a detailed purchase and construction approach, use the Dead Rails train build guide. The key is to treat cargo as revenue that must reach a buyer, not simply as items that occupy space. Sell before the final stretch to free space and fund repairs.
Choosing a Train by Route, Budget, and Survival
The strongest locomotive for one expedition may be poor for the next. A budget-conscious run needs affordability, a long expedition needs fuel range and cargo, and a combat-heavy route needs protection. Compare those variables before checking any tier list. Match the train to the route you actually expect.
Route-Based Recommendations
| Route condition | Best train category | Why it fits |
|---|---|---|
| Short and low-risk | Fast or Default Train | Low overhead and quick travel |
| Loot-rich with many stops | Cargo-focused train | More valuable items per trip |
| Fort-heavy | Armored Train | Extra protection justifies slower speed |
| Boss encounter | Armored or reliable event train | Survives concentrated fire |
| Long-distance expedition | Balanced train with fuel reserve | Combines range, capacity, and control |
| Special event route | Event locomotive | Matches temporary bonuses and access |
Budget matters because every train purchase reduces the money available for fuel, repairs, weapons, and items that can be sold later. The Default Train may therefore outperform a premium locomotive in the first few runs. Once the player knows the route, spending becomes easier to justify.
Combat style also changes the ranking. A player who relies on aggressive movement may prefer speed, while a defensive player gains more from a slower armored setup. The Dead Rails enemy overview helps identify which threats are likely to create the greatest need for extra protection.
Why a Static Tier List Can Mislead
A static ranking is useful for a quick recommendation, but it cannot know the route, event status, available upgrades, or crew size. It also cannot replace a current-build check. October 2026 patch changes may alter prices, unlock conditions, or event rewards, and some community figures are estimates rather than official values.
Use the tier list in three steps: first define the route’s dominant need—combat, hauling, or long-distance travel—then check whether the locomotive is actually available in the current build, and finally compare the remaining dead rails trains by their full expedition cost. For example, an armored locomotive may survive repeated combat zones, but it can consume more fuel on a long route; a high-capacity train suits cargo-heavy stops, while a speed-focused locomotive may need frequent resupply. This prevents a nominal tier from masking a poor match between locomotive stats, upgrade costs, and the expedition.
-
Identify whether the route needs speed, cargo, or armor most.
-
Remove locomotives that are unavailable in the current build.
-
Compare the remaining choices by total resource use, including fuel and upgrade cost.
| Decision question | Preferred direction |
|---|---|
| Will the route contain repeated combat zones? | Favor armor |
| Will stops produce more cargo than the train can hold? | Favor capacity |
| Is the run time-sensitive or far from a town? | Favor speed and fuel range |
| Is this the first expedition? | Favor the free starter |
| Is the locomotive event-only? | Verify access and expiration |
This method keeps the comparison honest because the dead rails best train answer changes with route conditions, event availability, crew size, and upgrade budget, while the decision process remains stable. For example, an armored locomotive can be the strongest option for repeated combat zones, but its fuel consumption may make a long-distance route more expensive than a speed-focused train. Conversely, a high-capacity locomotive is preferable when cargo rewards exceed the train’s storage capacity. Compare locomotives by expedition cost rather than tier position alone, then account for accessible upgrades and resupply needs.
Purchase and Upgrade Decision Checklist
Before buying, upgrading, or committing to an event train, run through a short checklist. Compare each dead rails train’s damage, durability, handling, and upgrade cost rather than relying on its tier label alone. For example, a train with lower base damage may outperform a higher-tier option if its handling survives hostile mobs and rough routes. For solo players, also check fuel efficiency, repair requirements, and the availability of salvage parts, since these factors determine whether a promising dead rails best train remains practical across a full run.
Before Departure
-
Verify that the locomotive is available in the current version or active event.
-
Compare the train's starting condition with your cash and expected route length.
-
Stock coal and another emergency fuel source.
-
Add armor only for the sections where enemies are likely to attack.
-
Make sure carriage space matches the loot you expect to collect.
During the Expedition
-
Reassess fuel after every major stop because detours and combat add time.
-
Remove or lighten armor during safe high-speed stretches when access permits.
-
Reinstall defensive equipment before stopping near a fort, town, or boss area.
-
Sell cargo before it becomes a problem rather than carrying every item to the final destination.
-
Keep enough money for repairs and ammunition rather than spending the entire budget on the train.
The strongest setup is not the one with the most visible upgrades. It is the one that reaches its destination with working defenses, usable cargo, and enough resources to continue. A train that looks impressive but strands the crew far from help is a poor choice, regardless of its tier.
Frequently Asked Questions
Which locomotive is the best in Dead Rails?
The best locomotive depends on your route. Armored Train suits combat-heavy journeys, Cattle Car favors cargo revenue, and Old Faithful offers balanced general play. For a first run, the free Default Train is safer because it leaves more money for fuel, repairs, weapons, and learning the route.
Is the Armored Train worth using for a solo expedition?
The Armored Train can be worth using when a solo player expects forts or boss fights, because added protection reduces the consequences of concentrated gunfire. Its speed cost is significant, so lighter armor is better for open travel. If most of the route is safe, a faster train may produce a better result.
What is the best train for carrying valuable cargo?
A cargo-focused locomotive such as the Cattle Car is the practical choice because its additional carriage space supports more loot and stronger sales potential. Capacity only pays off when the train can protect what it carries, so combine it with sensible stops, defensive upgrades, and early selling rather than assuming extra space solves every route problem.
Do event trains become permanent in Dead Rails?
Event availability can change, so treat event trains as temporary unless current game information clearly says otherwise. The Dracula Train, for example, is associated with Halloween and the Edison's Revenge update, while other event trains may follow limited schedules. Verify the current catalog before planning an expedition around one.
Should players upgrade their train before the first expedition?
A modest first expedition is usually better than spending heavily before understanding the route. Keep enough money for coal, emergency fuel, repairs, and basic defenses, then use early runs to learn where enemies and stops affect your budget. After identifying the route's real needs, upgrade speed, cargo, or armor in the order that solves the largest problem.