
Trains
Dead Rails train tier list and upgrade guide: compare the 14 locomotives, armour plating, cargo space and which engine keeps a crew alive on the run to 80 km.
Introduction
The train is the run. Fourteen locomotives are currently available, and each trades speed, cargo space or armour differently, so the right choice depends on whether your crew plans to loot heavily, fight bosses or simply cover distance before dark. Upgrades matter as much as the base engine: metal sheets bolted over windows, barbed wire at doors, turrets welded to a carriage and extra seating all change how a night plays out. A fast train with no armour reaches 80 km quickly but loses the cabin to one ambush, while a heavy train survives contact and then runs out of fuel because every stop takes longer. This hub ranks the current train pool, explains which upgrades actually keep a crew alive, and highlights the locomotives most players will meet during their first few runs.
Train Tier Overview
Default Train
First runs and learning the route
Armored Train
Surviving outlaw gunfire
Gold Rush Train
Bond farming crews
Ghost Train
Event runs and collection
Presidential Train
Late-game crews
Old Faithful
Mid-tier all-round play
Locomotive Breakdown
Default Train
The free starter locomotive every crew begins with
Armored Train
Heavy-plated engine built to survive gunfire
Gold Rush Train
High-value locomotive favoured by bond farming crews
Ghost Train
Event-styled locomotive with a spectral look
Presidential Train
Late unlock with a premium cabin layout
Old Faithful
Classic locomotive that remains a reliable mid-tier pick
Core Mechanics
Train choice is a trade between three resources: speed, survivability and carrying capacity. Speed decides how many towns you can loot before the spawn window and how quickly you can leave a bad fight. Survivability decides whether the cabin survives concentrated gunfire from outlaws or a werewolf boarding party. Capacity decides how much loot, fuel and ammunition the crew can bring home. Upgrades modify all three: plating adds protection at the cost of weight, barbed wire slows boarders without stopping bullets, and turrets add firepower that requires its own ammo supply. Because fuel consumption rises with weight, an over-armoured train can become a stationary fortress earlier than expected. The practical approach is to pick a train that matches your crew size and then upgrade one weakness instead of trying to make every stat average.
Advantages
A dedicated train build gives the crew a mobile base that no on-foot group can match. Armour keeps the driver alive through ambushes, cargo space turns a single town run into a meaningful bond profit, and speed lets an experienced crew skip fights that are not worth the ammo. The train also acts as a recovery point: wounded players can retreat inside, heal and rejoin instead of dying in the open. Upgrades compound these benefits because plating and barbed wire protect the same cabin that carries the loot. For co-op crews, a well-built train becomes a shared project, and the difference between a prepared locomotive and a default engine is usually visible within the first night cycle.
Challenges
Every train upgrade competes for the same limited resources. Bonds spent on plating cannot buy ammunition, and fuel spent hauling a heavy train cannot push the next checkpoint. Larger trains also present a bigger target and can be blocked in narrow sections, forcing the crew to fight outside the armour they paid for. Rare trains are expensive to unlock and painful to lose, which encourages cautious play that may actually reduce bond income. Finally, train rankings are community-driven and shift after balance patches, so a tier list is a starting point rather than a guarantee. Players should test a build on a cheap run before committing a large bond bank to a premium locomotive.
Frequently Asked Questions
Which train should a new crew use?+
Is the Armored Train worth the slower speed?+
How much coal do I need to reach 80 km?+
Quick Tips
Upgrade the cabin, not the hull. Enemies reach the driver through windows and doors, so metal sheets and barbed wire placed at those entry points protect the player who keeps the run alive. Place sheets where enemies actually reach: the driver cabin windows, the door the crew uses most and the walkway between carriages.
Carry a turret ammo box if you mount a Maxim. A welded turret without ammunition is decoration, and crews often spend the Bonds for the gun while forgetting the supply that makes it useful. Assign one player to turret duty during night stops so the gun is loaded and aimed before enemies reach the platform, not after they are already inside.
Test a premium train on a low-stakes run. Losing an expensive locomotive to an avoidable ambush teaches nothing, while a cheap run lets you learn the handling without risking the bond bank. Drive the first few kilometres of a new locomotive yourself, because handling and braking feel different enough that a driver who guesses can lose the train at the first obstacle.
Featured
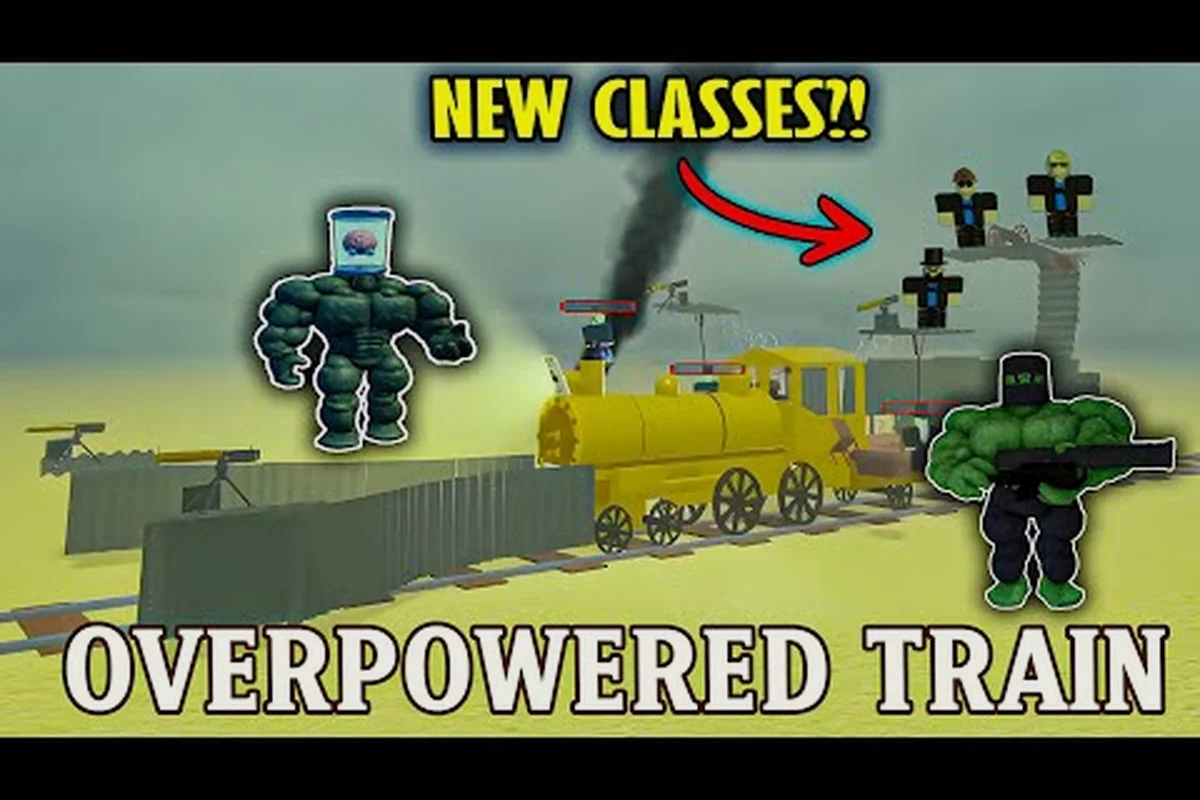
Dead Rails Gold Rush Train: Parts, Upgrades, and Weaknesses
Evaluate the Dead Rails Gold Rush train, its practical upgrades, fuel needs, advantages, and potential weaknesses before choosing it.
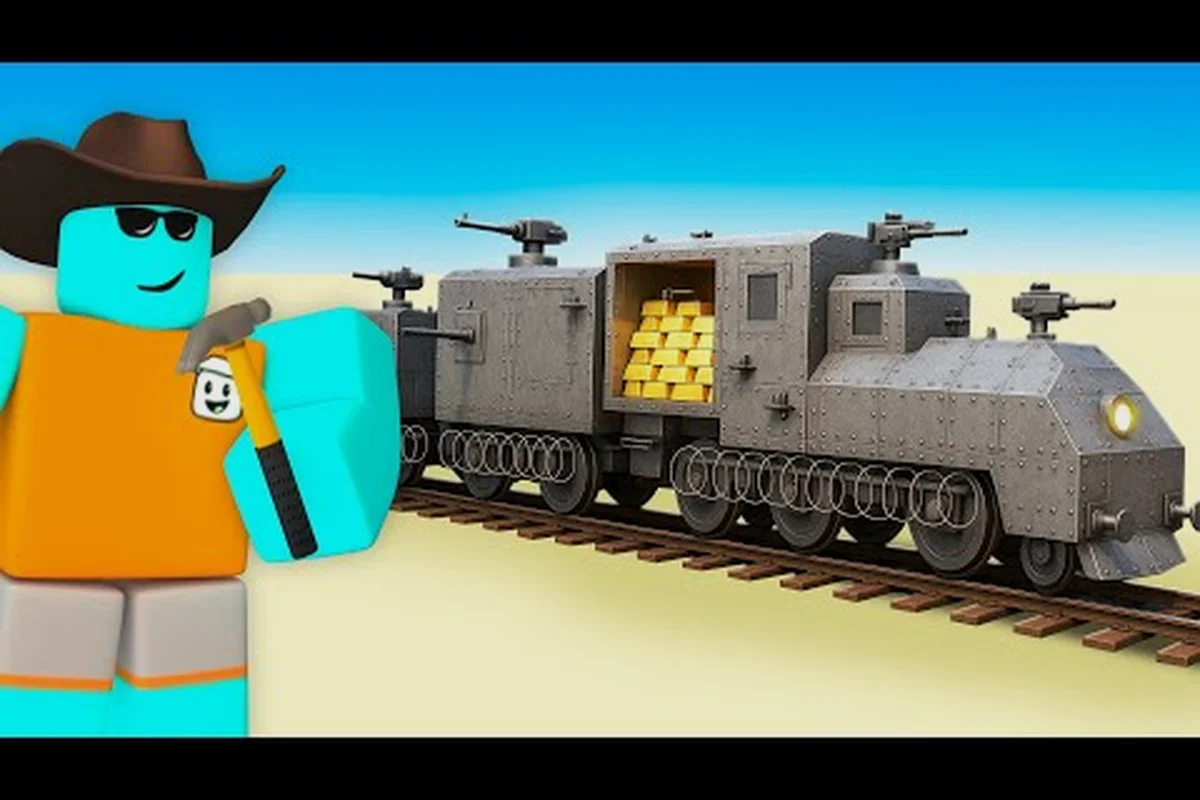
Dead Rails Train Armor: Best Defense Upgrades Revealed
Compare Dead Rails train armor options, including metal sheets, barbed wire, and turrets, while balancing protection against lost train speed.
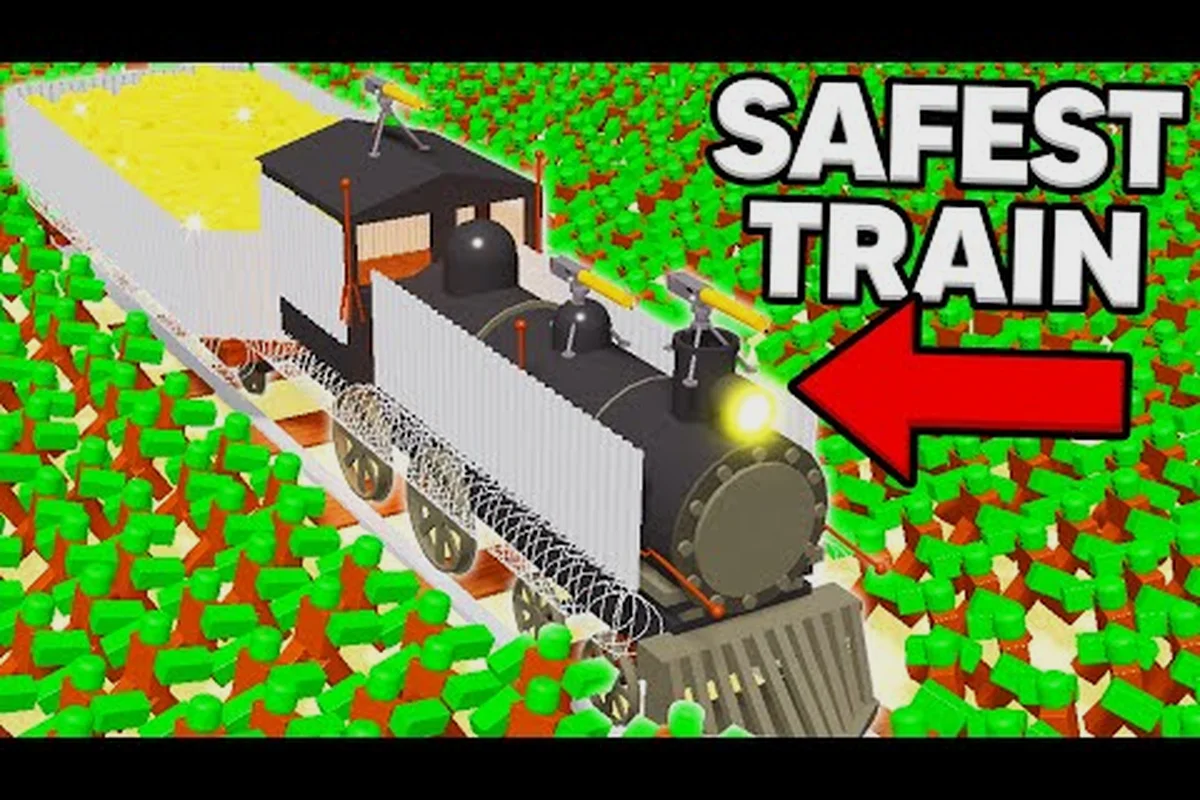
Dead Rails Train Build: Armor, Fuel, and Upgrade Guide
Build a stronger Dead Rails train build by balancing coal storage, armored entrances, turrets, speed, and cargo for solo or co-op play.
All Articles

Dead Rails Train Stuck: Causes, Speed, and Coal Fixes
Fix a dead rails train stuck caused by fuel, track, or speed issues with practical coal estimates and checks for reaching 80KM.
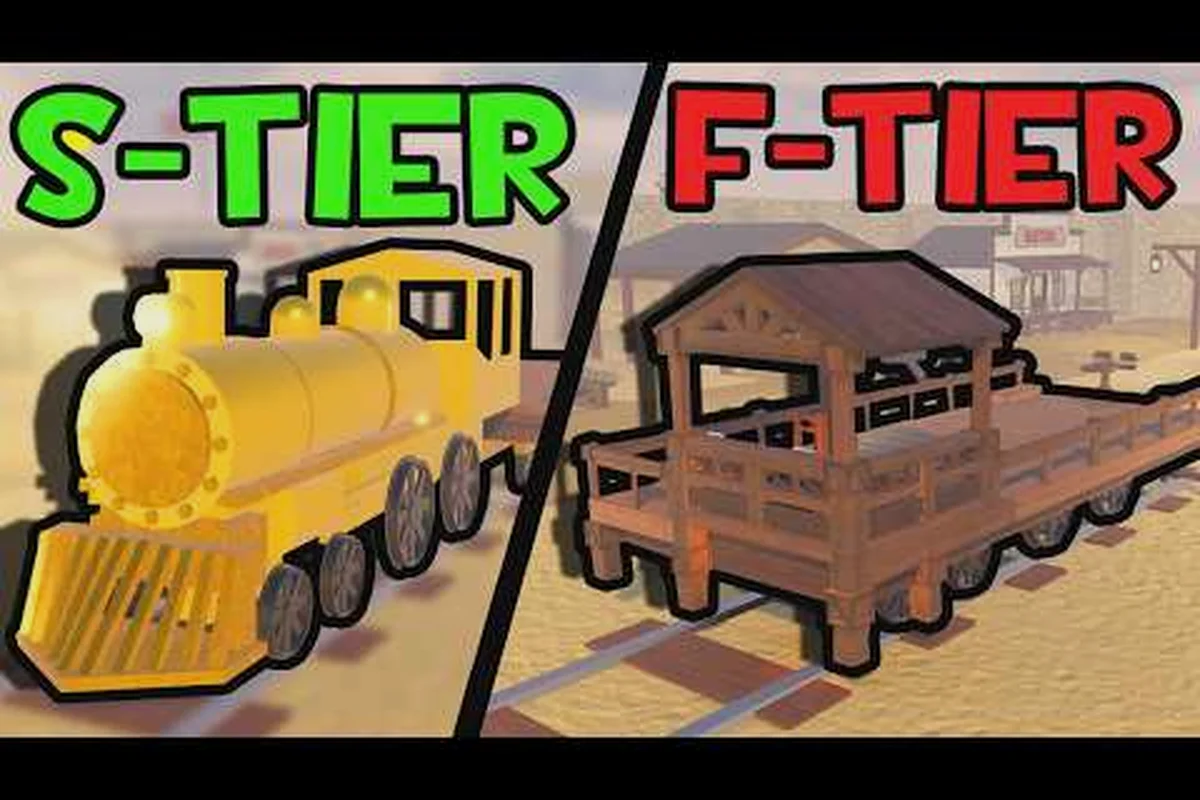
Dead Rails Trains: 14 Locomotives Ranked and Compared
Compare all 14 Dead Rails trains by speed, cargo space, armor, price, and event status to find the best locomotive for your expedition.
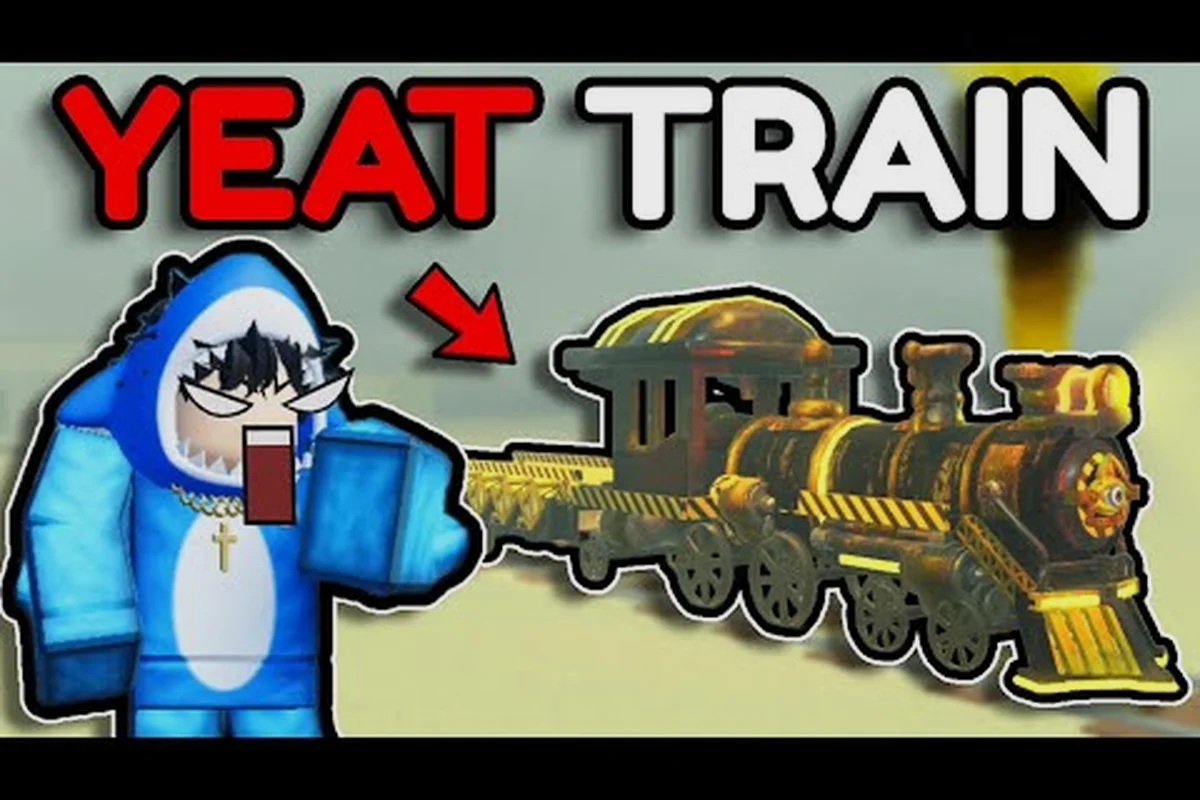
Dead Rails Yeat Train: Upgrades and Troubleshooting Guide
Learn how to upgrade and troubleshoot the Dead Rails Yeat train with practical advice on coal, blocked tracks, driver errors, and useful modifications.
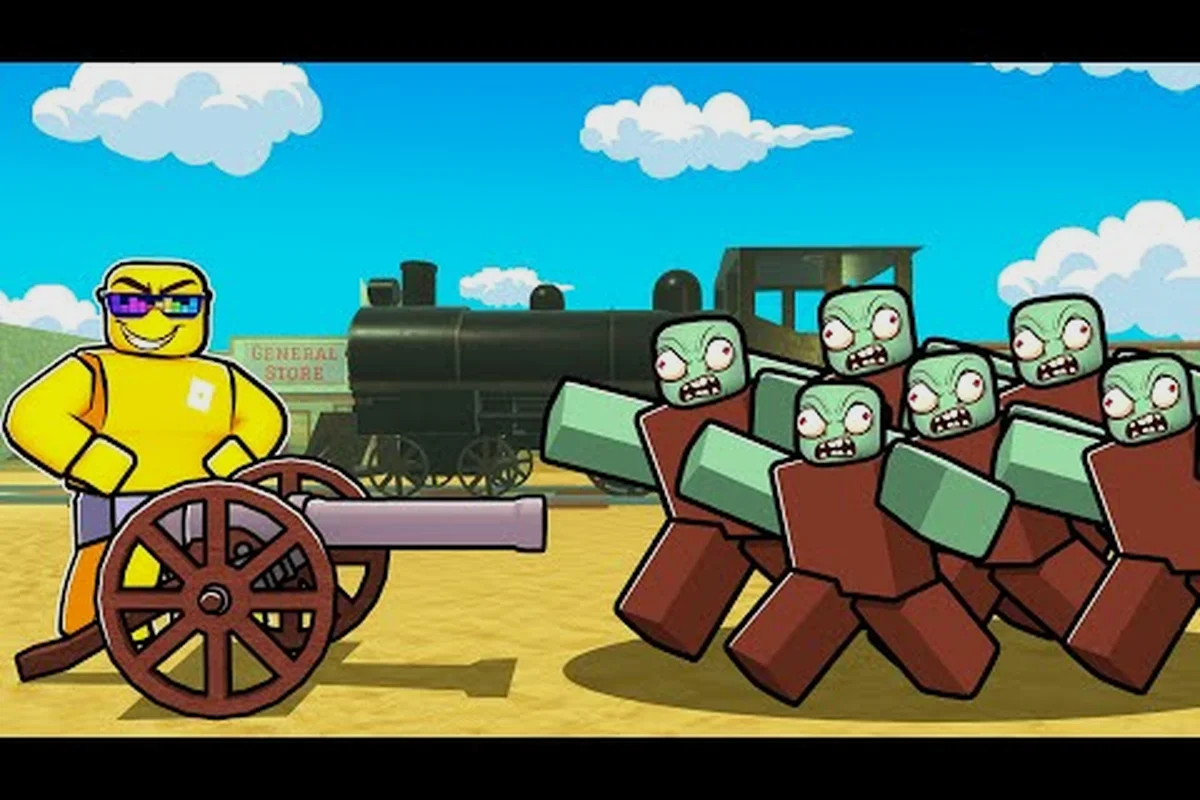
Dead Rails Cannon: Train Tips, Cart, Horn, and Defense
Explore dead rails cannon tactics alongside cart, horn, and defense choices, with practical advice for handling threats and protecting your train.